
For my Digital Modeling class, I had to model, UV, and texture and entire grocery shelf and it’s contents. It was a very hard assignment. We had to create a shelf, 3 jars, and 6 packages items, all with different textures and UVs. And we also had to pay attention to lights, shadows, and making sure our Outlier window is clean and properly organized and named. This assignment is basically using all the exercises we’ve been doing for the entirety of Unit 1 and put it to practice. I doubt I did too well, but at least I put effort into it!

I took a lot of care in making the shelf, and took real world measurements for it. I redid the UVing and textures probably around four different times. Which was a good thing, because that helped wrap my head around UVing a tiny bit better.
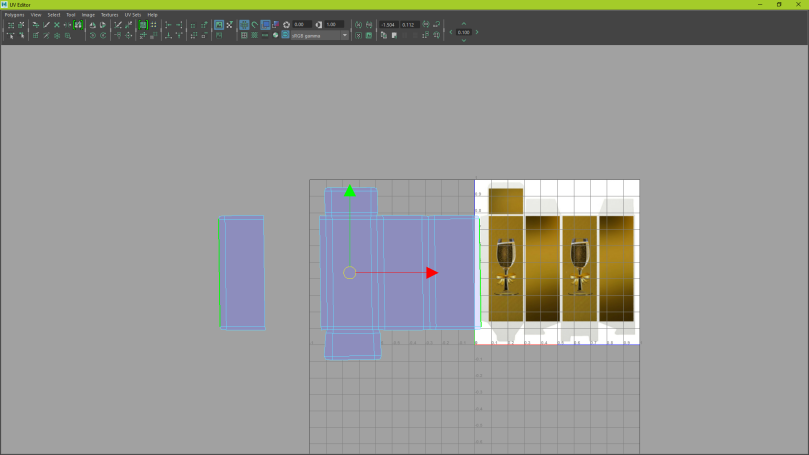
I had a lot of fun picking textures for my Wine Glass boxes. I found really cute textures for them. Messing around with the UV-ing also helped me to visualize UVs better. It helped me see the UVs more as a 2D representation of the 3D model, which I have been having trouble with.

Admittedly, I had extreme amounts of trouble with creating the Glass Jars. I was following along, and kept replaying, my Professor’s tutorial on creating the glass jars. I even looked online for other tutorials. However, I just could not get it down and it was just not translating for me. I was about 3 hours away from the assignment being due and I had a class in an hour that I had to start walking to, and since I hated the thought of blatantly, I instead quickly modeled some cylinders and beveled and edge looped them to make them look slightly like jars. I then just slapped a texture on them and called it done. I really wish I had gone to my Professor and asked for help in making them, but that’s a lesson learned for next time.
